
Physical lesson planners can be a hassle. It’s time-consuming to reuse the lessons and there is the very scary possibility of losing it. What if there was a way to organize your lesson plans in an efficient and useful way digitally? You can with Google Slides!
Every summer, I bought a planner in hopes that this would be the year that I would use it for the entire year. Just like all my New Year’s Resolutions though, I would keep it up for about a week or two, then forget about it. For the rest of the semester, I would write that day’s lesson on a piece of paper, but wouldn’t keep it in an organized fashion. For backup, I kept all my lessons on Google Docs but I wanted something a little more organized.
This semester, I had the idea to use Google Slides.
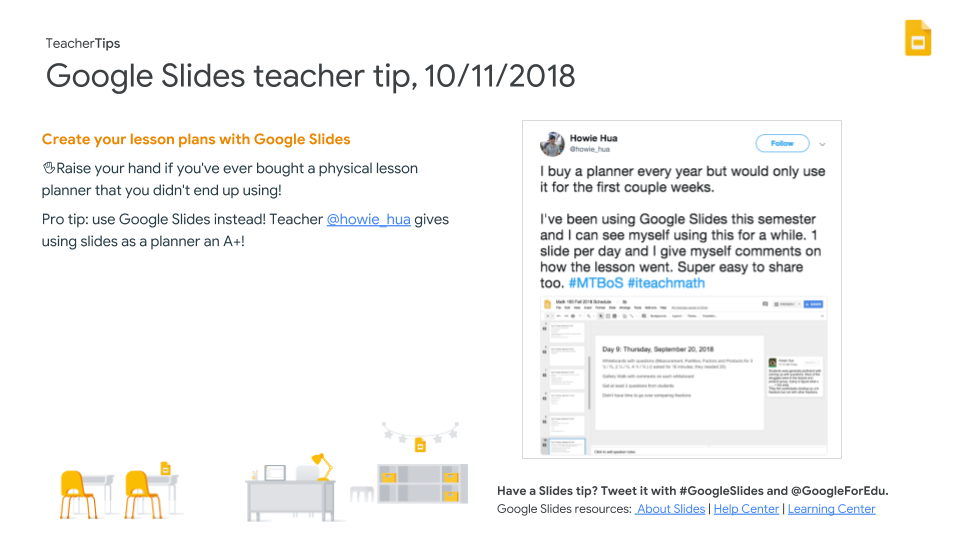
I’ll be honest in that I’m not the most organized person, but Google Slides definitely helps counter that. Google Slides allows me to keep my lesson plans organized in a usable way, especially when I dedicate one slide per lesson. I have also seen examples of people using Google Sheets to see the entire unit (example from Jon Orr) and those seem like they would work great as well!
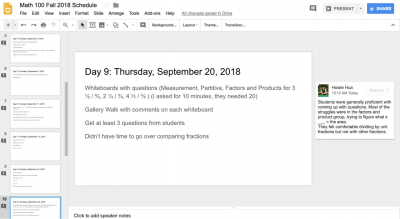
Some things you can include in lesson plans in Google Slides:
You have three places to enter information — the slide itself, the speaker notes, and the comments — so use those tools at your disposal however it works best for you.
You can quickly share with others
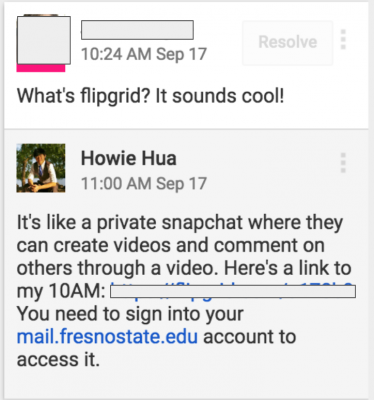
I have a support class associated with one of my math classes, so with just a quick share, the support class teachers can be caught up with what topics and exercises my students just went over. They have taken advantage of being able to comment by asking quick questions, such as what strategies we went over in class.
It’s free and accessible
Planners cost money and take up space. Most likely, you’ll have a device on you so you might as well include your lessons on there!
1. Give yourself comments on how the lesson went.
I’m huge on reflection, so after every lesson, I give myself a couple comments on timing, student understanding, or what I can do better next time.
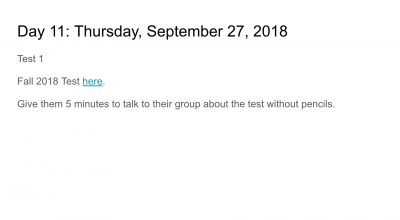
2. Include links to tests and assignments on the slides.
Hyperlink everything you need on the Google Slides so you don’t have to search for it!
3. Don’t use this as an excuse to do the exact same thing next year.
We don’t grow if we just do the same thing every year. Use this as a guide for the following year but don’t let this make you complacent.
4. Keep this tab open or bookmarked.
If I don’t see it, I’ll forget it. Because of that, I always keep my Slides open.
This Ditch That Textbook blog post shares another way to digitize your lesson plans and make them shareable and searchable. Use Google Forms with the Autocrat add-on to generate nicely formatted Google Docs with your lesson plans in them. Check out the full post for instructions on how to set it up!
For notifications of new Ditch That Textbook content and helpful links:
Interested in having Matt present at your event or school? Contact him by e-mail!
Matt is scheduled to present at the following upcoming events:
[getnoticed-event-table scope=”upcoming” max=”15″ expanding=”false”]
Session expired
Please log in again. The login page will open in a new tab. After logging in you can close it and return to this page.