Making Mosaic Art with Google Drawings is a fun way to get kids creating in the classroom. Here are the steps to get started along with 5 ideas for using this activity in the classroom.
This post is written by Sarah Jacobs, a middle school technology and English teacher from San Jose, California. You can find Sarah on Twitter @SarahJTeacher.
Let me just get this out of the way. I am in love with Google Drawings. I know it is often overlooked by many in favor of Slides, Docs or Forms but Google Drawings is my number one go-to for pretty much anything – especially when it involves creativity.
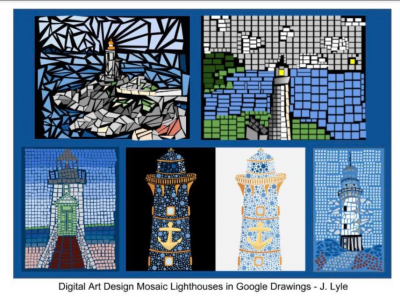 I am always looking for new and interesting ways to utilize Google Drawings in my technology class. So when my friend shared pictures from Julie Lyle of these cool mosaic art lighthouse drawings created with Google Drawings I knew I wanted to work it into my class.
I never assign my students anything without doing it first so I figured out how to create them and made my first piece of mosaic art! I thought it turned out okay and put it on Twitter.
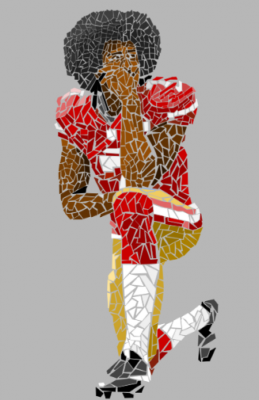
The response was amazing! The kids loved it. Twitter loved it. Everyone wanted to know how I made it so I created a list of steps to follow so that you can create your own!
How to create Mosaic Art with Google Drawings
- Find or draw a picture. The picture should be pretty colorful and have colors that stand out.
- Import that picture to a blank Google Drawing campus.
- Using either the shape or polyline tool, create small shapes where specific colors are in your picture.
- Make sure you are changing the color of both the inside and the outside line of your created shape.
- Leave space between each shape. Don’t have shapes overlap or it will ruin the mosaic concept.
- Keep going! Every once in a while, move the bottom picture to take a sneak peek at your mosaic.
- When you are done, try out some different backgrounds for your mosaic. I like a nice white or grey, but depending on your picture any color can work!
Tip: The zoom tool can come in handy here depending on your picture.
Tip: Using a chrome extension like ColorPick Eyedropper will allow you to find the hex code of the exact color you are trying to match.
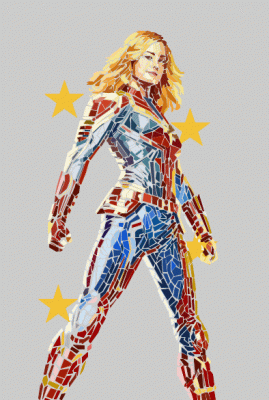 Here‘s the thing. Making the mosaic, while incredibly time-consuming and sometimes frustrating, was fun! Like most creative ventures, there was a feeling of purpose and relaxation. I got the same feeling I do when I am adult coloring or working on my bullet journal. Engaging and practicing creativity allows for a sense of purpose and accomplishment on one’s own terms.
This does not mean that the mosaics do not also have practical purposes.
Here are five ideas for using mosaic art in your class:
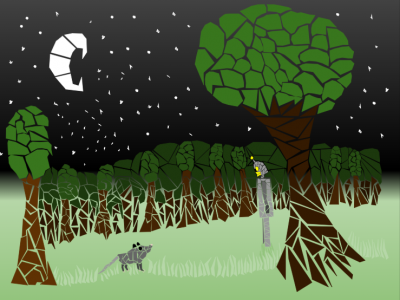
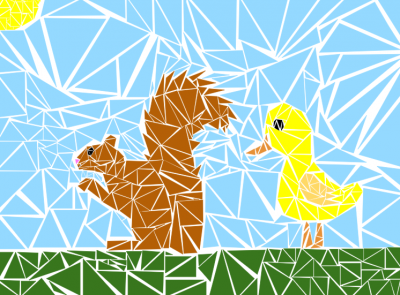 I had my students draw a scene from the novel “The Wild Robot” which I was reading to my technology class.
- There is also an opportunity for math classes to explore geometric shapes like this lesson I found on twitter from @jennjudkins.
- Make self-portraits! Take a picture with your camera and then make a mosaic over it.
- Pair the mosaic drawing with this amazing One Word HyperDoc from Sean Fahey. Have your students make a mosaic of your word of the year!
- Mosaics and stained class are found throughout history! Learn about Roman mosaics, Islamic mosaics, and medieval stained glass. Then have students make their own!
The possibilities for lessons are vast, but the opportunities for creativity and accomplishment are endless!
For notifications of new Ditch That Textbook content and helpful links:
- like Ditch That Textbook on Facebook
- follow @jmattmiller on Twitter
- check out the #DitchBook community on Twitter
- follow Ditch That Textbook on Pinterest
- subscribe to the Ditch That Textbook YouTube channel!
Interested in having Matt present at your event or school? Contact him by e-mail!
Matt is scheduled to present at the following upcoming events:
[getnoticed-event-table scope=”upcoming” max=”15″ expanding=”false”]


Fortnite battle pass
19 dolla Fortnite card! who wants it!
great idea…thank you
I love this.this is so fun