Have you ever been on social media -- or in some online space -- and thought ...
"Wow. I can't believe how these adults are acting! They need a lesson in how to interact online."
The next generation of social media users is in your classroom. You can be part of the solution -- AND help students show you what they've learned in your class.
Let's practice interacting online with this social media reply template for Google Slides! Post any ideas you have for using this template -- or any tips or suggestions -- in the comments!
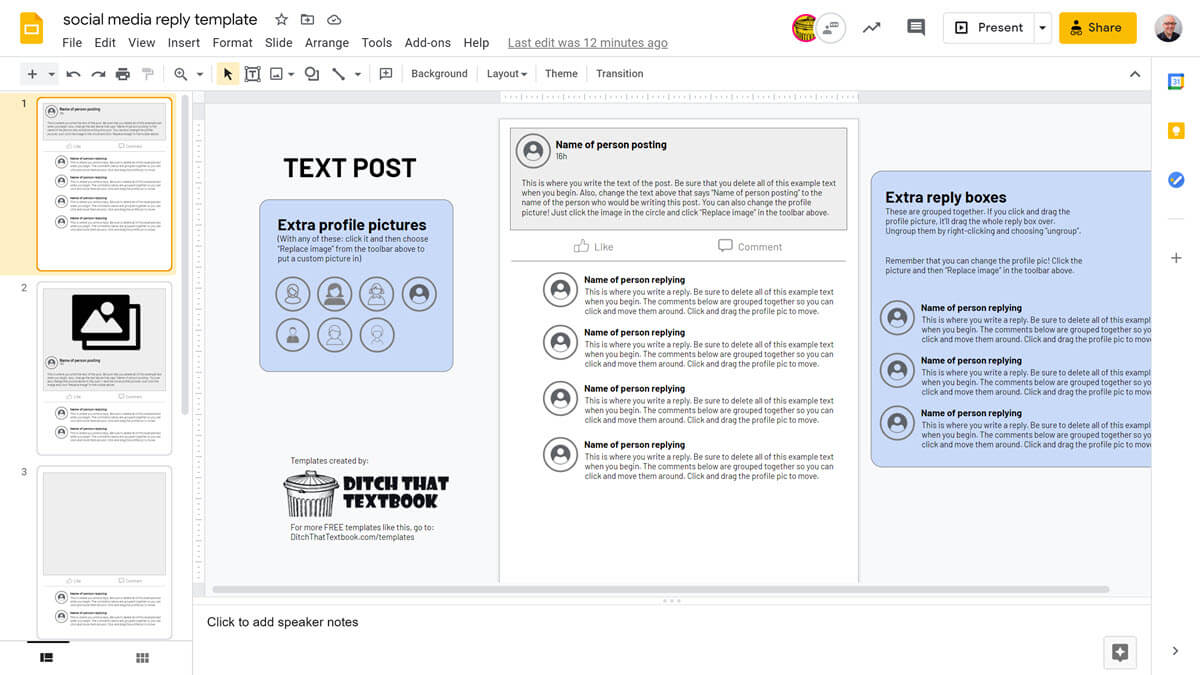
Click the image above -- or click right here -- to download/make your own copy of this template!

How to use the social media reply template
1. Make a copy. Just use the link above to make a copy of the template.
2. Get it ready for students. In your copy, you can type a post that you want students to reply to.
- You have lots of post options. You can create a text post and/or a post with an image or a video. You can even take a screenshot of a real post on social media like Twitter, Facebook, TikTok, Snapchat, Instagram, etc.
- You can change circle the profile picture by clicking the image and choosing "Replace image" from the toolbar.
- The replies -- with the name, profile picture, and text -- are grouped, so you can click and drag them around easily as a group.
Delete any of the extra slides to the side that your students won't need. Rename your file with a unique name for this particular activity.
3. Assign it to students. Create an assignment and add the template.
- In Google Classroom: Click "Add" to attach the template. Then, choose "Make a copy for each student."
- In Canvas, Schoology, or others: If you can't make a copy for each student like you can in Google Classroom, this post will show you how to create a link where students can make their own copy.
4. Students work. They can create their own posts (if you haven't done so for them) and any replies.
5. Students turn it in. They submit the activity to you when they're finished for grading.
NOTE: This template isn't intended to be used in "Present" mode! Students do all of their work in edit mode. Unless you plan on showing their finished products on a projector screen (which is OK, by the way!) you may never need the "Present" button.

Ideas for using the social media reply template
This template is versatile! You can use it in a variety of ways depending on what you want your students to do.
1. Have students create a post. You can give them the template as-is and ask them to create a post as well as replies. Some ideas:
- Post for a historical character or a character in a story you're reading.
- Post as themselves after learning about new content as a reflection activity.
- Post a controversial statement and model how to respond appropriately. (Be careful: Help students know how to phrase the controversial statement without getting in trouble ... or phrase it yourself and give it to students.)
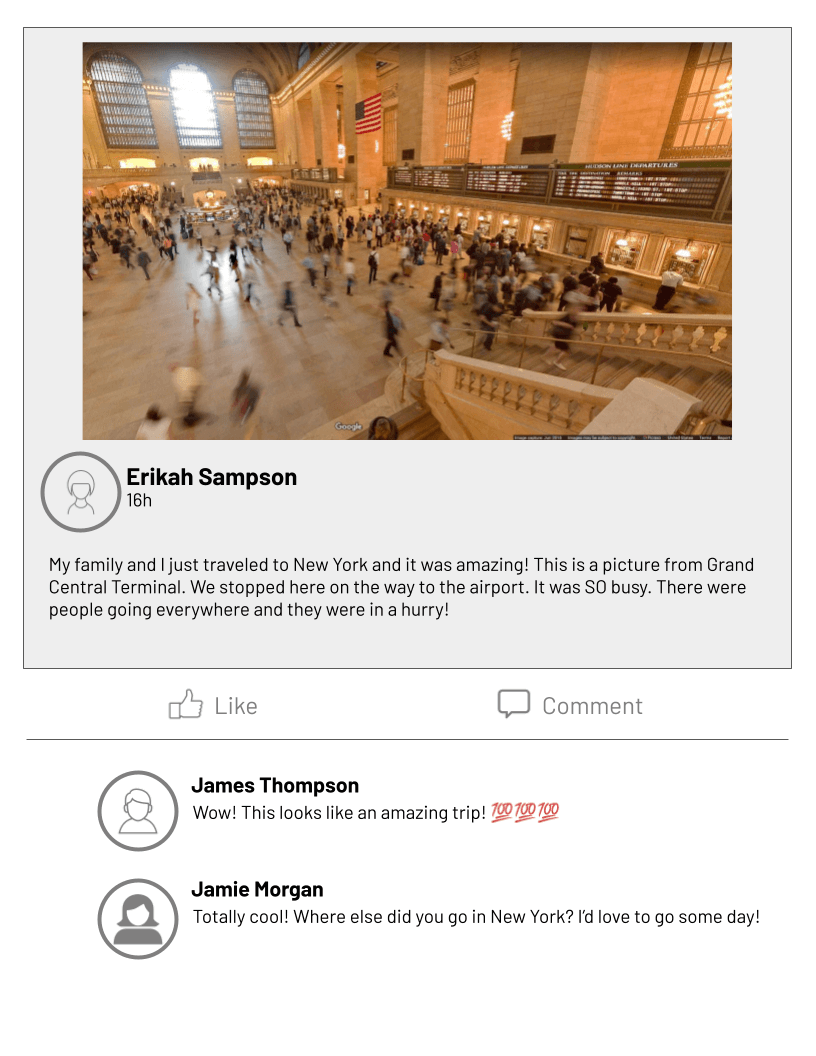
2. The teacher creates a post and asks students to reply. Write a text post and let students respond in the replies. OR add an image to a post and let students respond to that. OR add a video for students to watch and respond to.
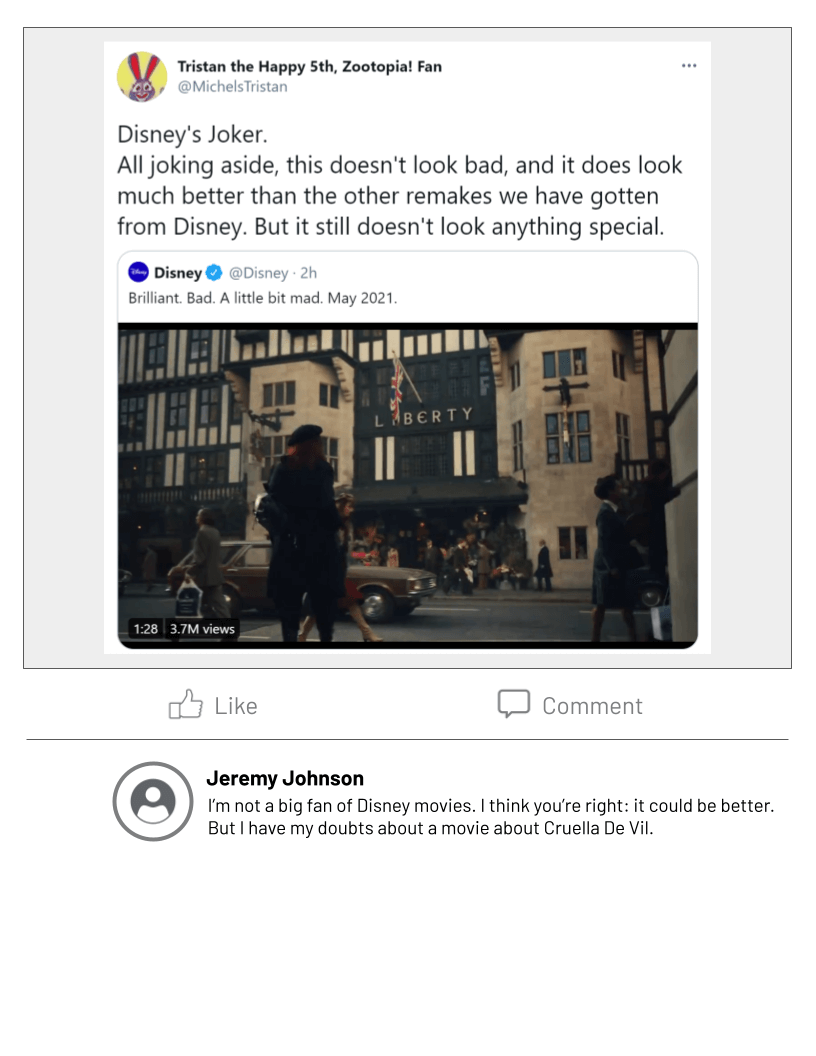
3. Take a screenshot of a real social media post. If you come across a social media post you'd like students to reply to, take a screenshot of it. Paste the screenshot in the screenshot page of the template and let students reply.
4. Let students reply to each other's posts collaboratively. Students all work on their own slide in one Google Slides file for the whole class. They can then jump into each other's slides to write replies.
How to set it up: Use one slide from the template (text, image/video, or screenshot) and delete all of the rest of the slides. Duplicate that slide so there are enough duplicate copies for every student. Share the file with students.
- In Google Classroom: Attach the file to an assignment. Choose "Students can edit file" from the drop down.
- In Canvas, Schoology, or others: If you can't make a copy for each student like you can in Google Classroom, this post will show you how to let students collaborate inside the same file.
Each student writes a post on his/her own slide. Then, for example, when all students are done making their posts, have each student go to the slide below his/her own slide and write a reply. Then, do it again on the next slide. In this example, each student writes a post and creates two replies -- and every student gets replies on their posts!

How I made this social media reply template
A couple of notes in case you want to make your own -- or modify this one:
1. I locked things in the background by putting them in the master slide. You can find the master slide in Google Slides by clicking View > Master slide. You can move or adjust things locked in the background there.
2. I used icons from The Noun Project (thenounproject.com) to recreate some of the user interface. You can use their icons for free with attribution. (I have a paid Noun Pro account that lets me use them without attribution.)
3. I grouped all of the parts of the replies (the profile picture, the name, and the text). You can do that by highlighting several things and going to Arrange > Group in the menu. That way, when someone moves it, all of those parts move together. You can ungroup them to edit individual parts by right-clicking and choosing "Ungroup."

I want to Say thank you from the bottom of My Heart
Add Me to the List of those who are thanking You
I was Looking for the Same but Didn’t get much Response. Thank You Dear
I love this activity, thanks!
Your Most Welcome Dear
This one was Helpful for me too
Helpful Information from a Nice Guy
Do you have a video on this Social Media template, your directions are really not that clear.